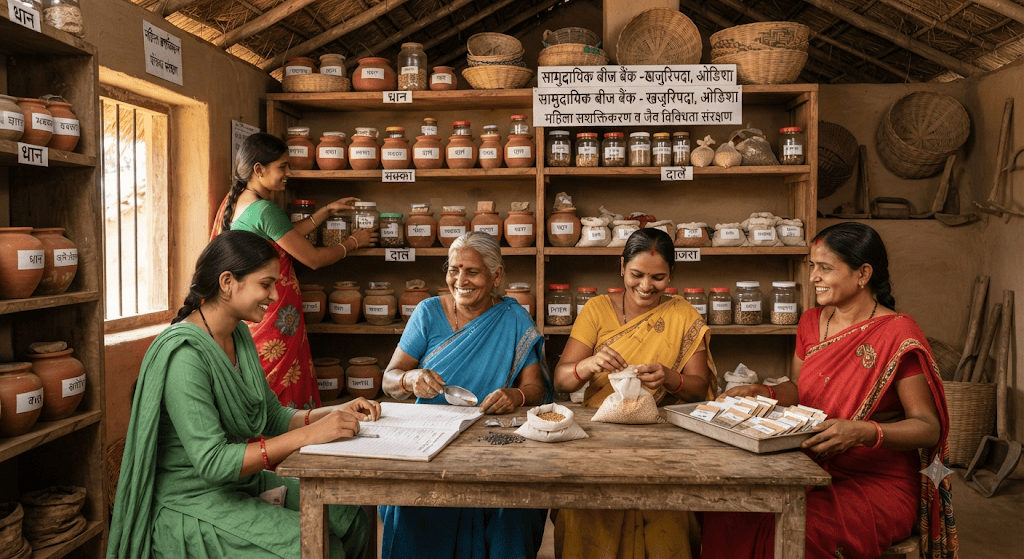
Women Who Run Community Seed Banks in India

Seed Keeping Has Always Been Women’s Work

In much of rural and tribal India, women are the traditional seed-keepers. They decide which grains to save, how to store them and which varieties to plant next season. That knowledge is rarely written down, but it holds generations of experience about soil, rainfall and taste.

How a Community Seed Bank Works

A community seed bank is not a vault. It is a shared, village-run system. In Karnataka, the GREEN Foundation, which began in 1996 with five women farmers and a handful of indigenous seeds, helped set up seed banks managed by women’s self-help groups. Members take seeds free of cost, sow and harvest them, then return double the quantity to the bank. The stock grows, and the seeds stay in local hands.

What These Banks Protect

  • Native varieties suited to drought-prone, low-fertility land
  • Millets, pulses and traditional vegetables that commercial seed catalogues often ignore
  • Farmer independence, since women don’t have to buy new seed from outside companies every season

A national-level survey found around 887 traditional varieties across 71 crops being kept by community seed banks and individual custodians in 15 states. In Telangana and Madhya Pradesh, one women’s-collective seed bank is reported to hold more than 80 traditional varieties of millets, pulses, dryland rice and oilseeds.

Small Banks, Real Impact

In Odisha’s Koraput district, a women-run seed bank serves around 25 households and preserves roughly 20 varieties, including paddy, ragi, maize, chilli and beans. In Meghalaya’s West Jaintia Hills, 36 women farmers dry seeds in the sun, wrap them in cloth and store them in glass jars, using simple methods their families have relied on for generations.

The Challenges

Small seed banks struggle with pest control, proper storage and steady funding. Many also depend on NGO support to keep running.

How You Can Support This Work

  1. Buy millets, pulses and vegetables grown from native seed when you can
  2. Support organisations that fund community seed banks
  3. Visit farm stays that grow heirloom varieties and ask about their seeds

Bottom Line

A seed bank run by village women is one of the cheapest and most practical forms of climate insurance. When a crop fails elsewhere, the seeds they saved may be the ones that grow.
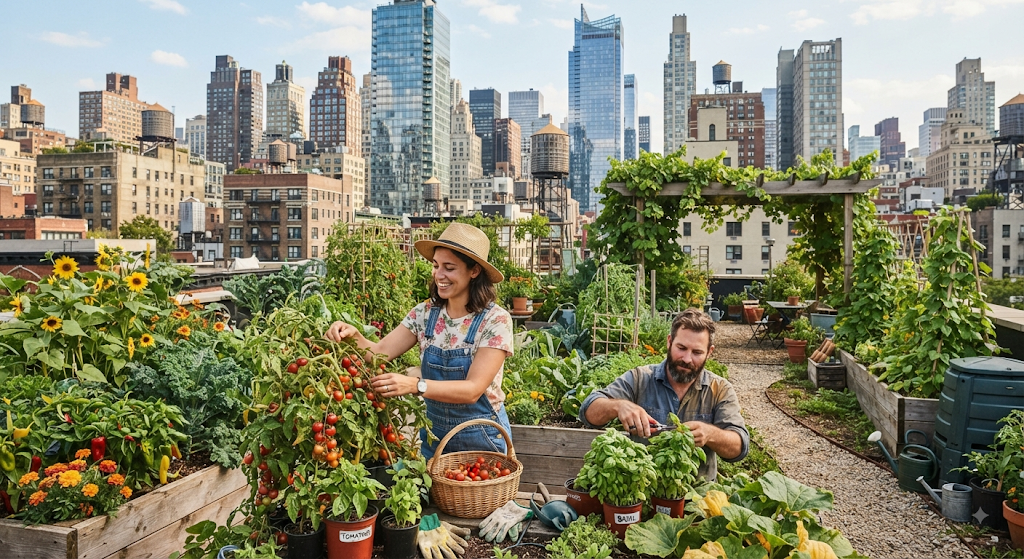
Urban Gardening: Growing Your Own Vegetables in a Small City Home

Growing your own vegetables sounds like something reserved for people with a farm or a sprawling backyard. In reality, a few pots, some sunlight, and a bit of consistency are enough to start — even in a compact city apartment.

Start With What Gets Sunlight

Most vegetables need at least 4-6 hours of direct sunlight. Before choosing what to grow, observe your balcony or window ledge across a day to see where light actually falls — this single factor determines more about your success than almost anything else.

Easiest Vegetables for Beginners

Leafy greens like spinach and fenugreek (methi), along with herbs like mint and coriander, grow quickly and forgive beginner mistakes more easily than fruiting vegetables like tomatoes or chillies, which need more consistent care and space.

Containers Don’t Need to Be Fancy

Grow bags, old buckets with drainage holes, or even repurposed plastic containers work just as well as expensive ceramic pots. What matters more is adequate depth for root growth and proper drainage to avoid waterlogging.

Get the Soil Mix Right

A simple mix of garden soil, compost, and coco peat (roughly equal parts) gives most vegetables enough nutrients and drainage to thrive in containers, where nutrients deplete faster than in open ground.

Water Consistently, Not Excessively

Overwatering is one of the most common mistakes in container gardening. Checking whether the top inch of soil is dry before watering again — rather than watering on a fixed daily schedule — prevents root rot and keeps plants healthier.

Compost What You Can

Kitchen scraps composted at home (even a small balcony setup) provide a steady, free nutrient source for your containers, closing the loop between your kitchen waste and your garden’s growth.

Manage Expectations

Urban gardening won’t replace your grocery shopping, and that’s fine — even a small harvest of fresh herbs or greens reduces some dependency on store-bought produce while giving a satisfying, hands-on connection to your food.

Bottom Line

A small city home doesn’t need to rule out growing your own food. A few well-chosen pots, some consistent care, and a little patience are often all it takes to turn an unused balcony corner into a small, functioning garden.

Composting for Beginners: A Simple Balcony Guide

Composting sounds like something that needs a big backyard or a rural setup — but it’s entirely doable on a city balcony, with nothing more than a small bin and some patience. Here’s a simple starting guide for anyone who wants to turn kitchen waste into something useful instead of trash.

Why Bother Composting on a Balcony

A large share of household waste is organic — vegetable peels, fruit scraps, tea leaves — and most of it ends up in landfills, where it breaks down slowly and releases methane. Composting it at home instead turns that same waste into nutrient-rich soil for your own plants, cutting down what you send out while feeding what you grow.

What You’ll Need

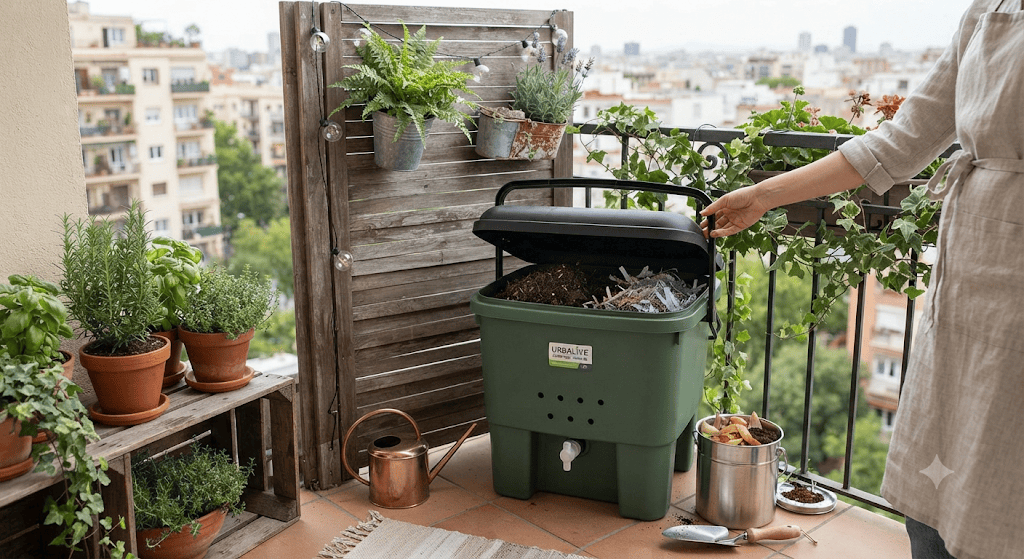
  • A compost bin or container with a lid — a simple plastic bucket, terracotta pot, or a stacked compost bin works fine
  • Some drainage holes drilled into the container if it doesn’t already have any
  • A base layer of dry material like dried leaves, newspaper, or coco peat
  • A small stick or trowel for turning and mixing

What You Can (and Can’t) Compost

Yes: vegetable and fruit peels, tea leaves, coffee grounds, eggshells, dry leaves, paper (non-glossy)

No: cooked food, oily or dairy items, meat, citrus peels in large quantities, diseased plant matter

Sticking to this list keeps the compost from smelling and prevents pest issues, which is the number one reason beginners give up early.

The Balance: Greens and Browns

Compost needs two types of material — “greens” (wet, nitrogen-rich scraps like vegetable peels) and “browns” (dry, carbon-rich material like dried leaves or shredded paper). A rough ratio of one part greens to two or three parts browns keeps the mix balanced, odor-free, and breaking down properly.

The Basic Routine

  1. Layer it — browns at the bottom, then alternate with greens as you add kitchen scraps
  2. Turn it every few days — mixing the pile with a stick or trowel adds air, which speeds up decomposition and prevents smell
  3. Keep it moist, not wet — it should feel like a damp sponge, not soaked
  4. Be patient — balcony composting typically takes 4 to 8 weeks to produce usable compost, depending on conditions

Signs It’s Working (or Not)

A healthy compost pile smells earthy, not rotten. If it smells bad, it usually means too many wet “greens” and not enough dry “browns” — add more dry material and turn it more often. If nothing seems to be breaking down, it may be too dry — add a little water and mix.

What to Do With Finished Compost

Once it looks dark, crumbly, and smells like soil rather than food waste, it’s ready. Mix it into potting soil for your balcony plants, or share it with a neighbor who gardens — either way, waste that would have gone to a landfill is now feeding something living.

Bottom Line

Balcony composting isn’t about doing it perfectly — it’s about doing it consistently. Even a small bin, tucked into a corner of an apartment balcony, can meaningfully cut down kitchen waste while giving your plants something landfill-bound scraps never could.