How Fast Fashion Returns Policies Quietly Hurt the Environment

The Hidden Cost of “Just Return It”

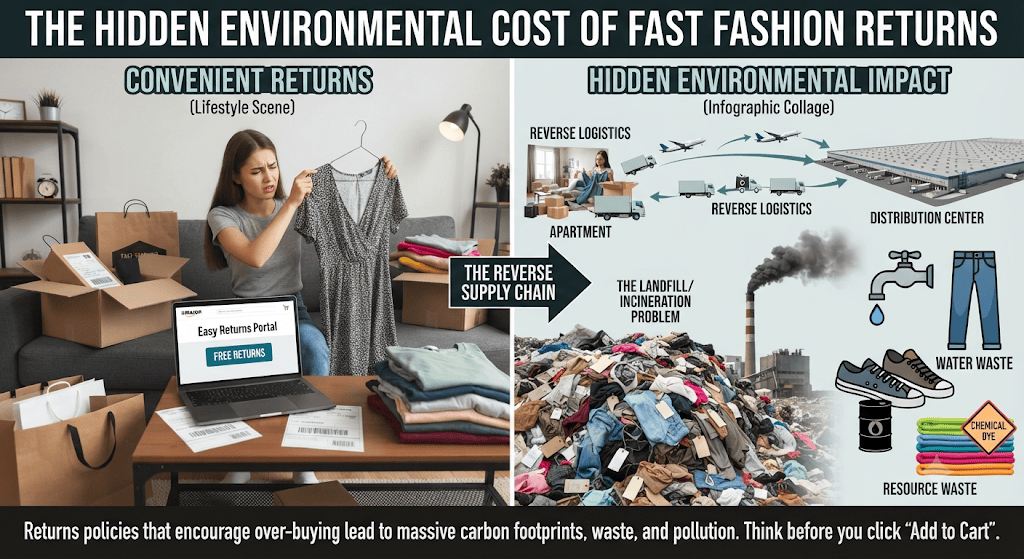
Easy return policies encourage overbuying — ordering multiple sizes or styles with the plan to send back what doesn’t work. It feels low-risk for the shopper, but each return triggers a second delivery journey, doubling transportation emissions on top of the original purchase.

Fashion Has the Worst Returns Problem

The fashion industry records the highest online return rates of any retail category, with customers sending back up to 40% of garments ordered — far above the roughly 30% average return rate across online shopping generally. In the US alone, fashion returns have been estimated to generate carbon emissions equivalent to about three million cars on the road for a year.

Where Returned Clothes Actually Go

Because reprocessing, restocking and reselling a returned item often costs more than the item is worth — especially for cheaply made fast fashion — a significant share of returns are sent straight to landfill instead of resale. Due to the synthetic fibres common in fast fashion, items that do end up there can take up to 100 years to decompose, releasing greenhouse gases and leaching chemicals into soil as they break down.

It’s Not Just About Landfill

Return logistics add packaging waste too — much of it in plastic wraps and mixed materials that are difficult to recycle. And the carbon cost of the return leg alone can add significantly on top of the emissions from the original delivery.

What Shoppers Can Actually Do

  1. Check size charts and read reviews carefully before ordering, instead of over-ordering “to be safe”
  2. Buy fewer, better-made pieces that fit the first time
  3. Choose brands and retailers transparent about what happens to returns
  4. Resist “bracketing” — ordering several sizes/colours intending to return most

Bottom Line

A free return isn’t actually free — it’s a second trip with its own emissions, and often, a one-way ticket to landfill. The most sustainable return is the one you never have to make.

The Environmental Cost of Destination Weddings

The Guest Travel Problem

The single biggest environmental cost of a destination wedding often isn’t the venue — it’s getting a hundred-plus guests there by flight for a single weekend. Multiply that across India’s peak wedding season and the cumulative footprint is significant, even before a single flower is arranged.

Single-Use Decor, Multiplied

Elaborate floral installations, printed welcome kits, single-use drapes, and themed props are frequently built for one event and discarded after. What looks like abundance in photographs is, functionally, a large volume of short-lived material waste — much of it non-biodegradable.

Water-Stressed Destinations, Water-Heavy Events

Many popular Indian wedding destinations — hill towns, desert palaces, lakeside venues — already deal with seasonal water stress. Multi-day events with pools, elaborate catering, and daily linen changes place real strain on local water systems that locals live with long after the wedding party leaves.

What a Lower-Impact Version Looks Like

Couples opting for local sourcing of flowers and food, rental decor instead of custom-built installations, digital invites, and smaller guest lists are quietly changing what a “big fat Indian wedding” can look like — without giving up the celebration itself.

Bottom Line

Destination weddings aren’t going away, but the assumption that scale and spectacle are the only way to celebrate is worth questioning — especially in places that will carry the environmental cost long after the guests go home.

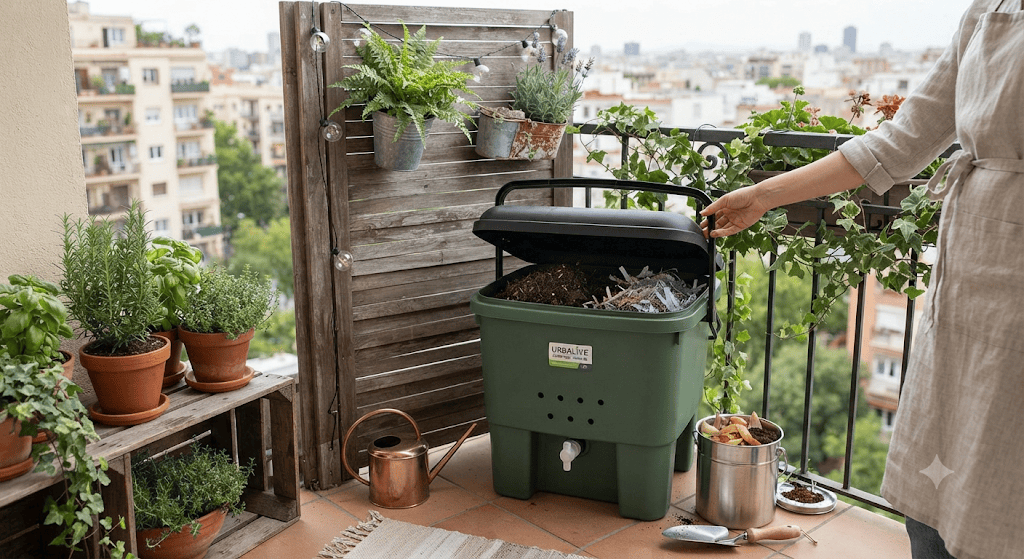
Composting for Beginners: A Simple Balcony Guide

Composting sounds like something that needs a big backyard or a rural setup — but it’s entirely doable on a city balcony, with nothing more than a small bin and some patience. Here’s a simple starting guide for anyone who wants to turn kitchen waste into something useful instead of trash.

Why Bother Composting on a Balcony

A large share of household waste is organic — vegetable peels, fruit scraps, tea leaves — and most of it ends up in landfills, where it breaks down slowly and releases methane. Composting it at home instead turns that same waste into nutrient-rich soil for your own plants, cutting down what you send out while feeding what you grow.

What You’ll Need

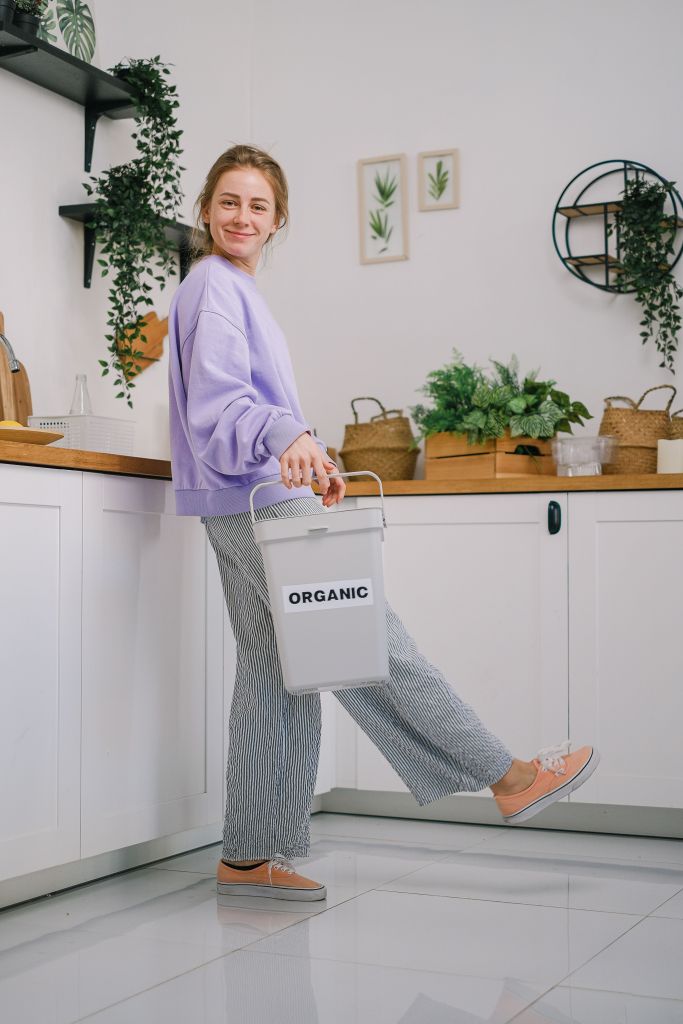
  • A compost bin or container with a lid — a simple plastic bucket, terracotta pot, or a stacked compost bin works fine
  • Some drainage holes drilled into the container if it doesn’t already have any
  • A base layer of dry material like dried leaves, newspaper, or coco peat
  • A small stick or trowel for turning and mixing

What You Can (and Can’t) Compost

Yes: vegetable and fruit peels, tea leaves, coffee grounds, eggshells, dry leaves, paper (non-glossy)

No: cooked food, oily or dairy items, meat, citrus peels in large quantities, diseased plant matter

Sticking to this list keeps the compost from smelling and prevents pest issues, which is the number one reason beginners give up early.

The Balance: Greens and Browns

Compost needs two types of material — “greens” (wet, nitrogen-rich scraps like vegetable peels) and “browns” (dry, carbon-rich material like dried leaves or shredded paper). A rough ratio of one part greens to two or three parts browns keeps the mix balanced, odor-free, and breaking down properly.

The Basic Routine

  1. Layer it — browns at the bottom, then alternate with greens as you add kitchen scraps
  2. Turn it every few days — mixing the pile with a stick or trowel adds air, which speeds up decomposition and prevents smell
  3. Keep it moist, not wet — it should feel like a damp sponge, not soaked
  4. Be patient — balcony composting typically takes 4 to 8 weeks to produce usable compost, depending on conditions

Signs It’s Working (or Not)

A healthy compost pile smells earthy, not rotten. If it smells bad, it usually means too many wet “greens” and not enough dry “browns” — add more dry material and turn it more often. If nothing seems to be breaking down, it may be too dry — add a little water and mix.

What to Do With Finished Compost

Once it looks dark, crumbly, and smells like soil rather than food waste, it’s ready. Mix it into potting soil for your balcony plants, or share it with a neighbor who gardens — either way, waste that would have gone to a landfill is now feeding something living.

Bottom Line

Balcony composting isn’t about doing it perfectly — it’s about doing it consistently. Even a small bin, tucked into a corner of an apartment balcony, can meaningfully cut down kitchen waste while giving your plants something landfill-bound scraps never could.

How to Make Your Periods More Eco-Friendly (Menstrual Cups, Cloth Pads & More)

Somewhere between the ages of thirteen and now, most of us have gone through hundreds, maybe thousands, of disposable pads or tampons without ever really pausing to think about where they end up. I didn’t either — until I actually sat down and did the math on how much plastic one period alone quietly generates, month after month, year after year.

That math is what nudged me toward switching things up. It wasn’t overnight, and it wasn’t perfect. But here’s what I’ve learned along the way.

Why this even matters

A single disposable pad can contain the plastic equivalent of about four plastic bags, and most take centuries to break down. Multiply that by a lifetime of periods, and the number gets uncomfortable fast. None of this is said to guilt anyone — most of us were just never given other options growing up. But once you know better options exist, it’s worth at least knowing what they are.

Menstrual Cups

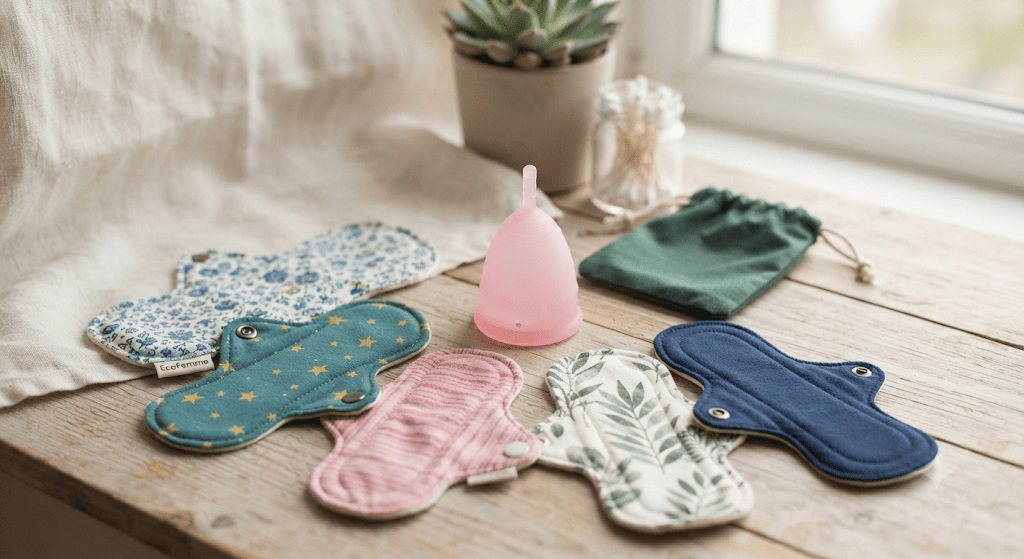
This was the one I was most nervous about, and also the one that ended up changing the most for me. A menstrual cup is a small, flexible silicone cup that collects (rather than absorbs) flow, and can be worn for up to 8-12 hours depending on flow. One cup, with proper care, lasts several years — which means the “waste” from years of periods shrinks down to essentially one small object.

The learning curve is real for the first cycle or two — figuring out folding techniques, finding the right size, getting comfortable with insertion and removal. I won’t pretend that part was smooth. But by the second cycle, it stopped feeling unfamiliar, and by the third, I couldn’t imagine going back.

Reusable Cloth Pads

For days when a cup doesn’t feel right, or for anyone easing in more gradually, cloth pads are a solid middle step. They work exactly like disposable pads but are washable and reusable for years. A lot of brands now make ones with the same wings, absorbency levels, and comfort you’d expect from disposable versions — the only extra step is a quick rinse and wash after use.

Period Underwear

This one requires zero adjustment period (no pun intended). It looks and wears like regular underwear but has built-in absorbent layers. It’s especially useful for lighter days, overnight wear, or as backup alongside a cup. For anyone hesitant to jump straight into cups, this is often the gentlest starting point.

What I’d tell someone just starting out

Start with one switch, not all of them at once. Trying to overhaul your entire routine in one cycle is a fast way to feel overwhelmed and give up. Pick the option that feels least intimidating and let that be the only change for a cycle or two.

Give it more than one try. The first cycle with a cup or cloth pad is rarely the smoothest — that’s normal, not a sign it’s “not for you.” Most of the discomfort is about unfamiliarity, not the product itself.

It’s okay to mix and match. You don’t have to pick just one. Plenty of people use a cup for heavy days, period underwear for light days, and keep a couple of disposables around for emergencies. Sustainability doesn’t require perfection — it just asks for a direction.

The bigger picture

Switching how you manage your period isn’t going to single-handedly fix a global waste problem, and it doesn’t need to be framed that way to be worth doing. It’s a small, personal choice that adds up over a lifetime — less waste, less recurring cost, and for a lot of people, honestly, more comfort once the adjustment period (again, no pun intended) is over.

Have you tried any of these? I’d genuinely love to hear what worked or didn’t for you.

Eco-Friendly Products I Actually Use Daily

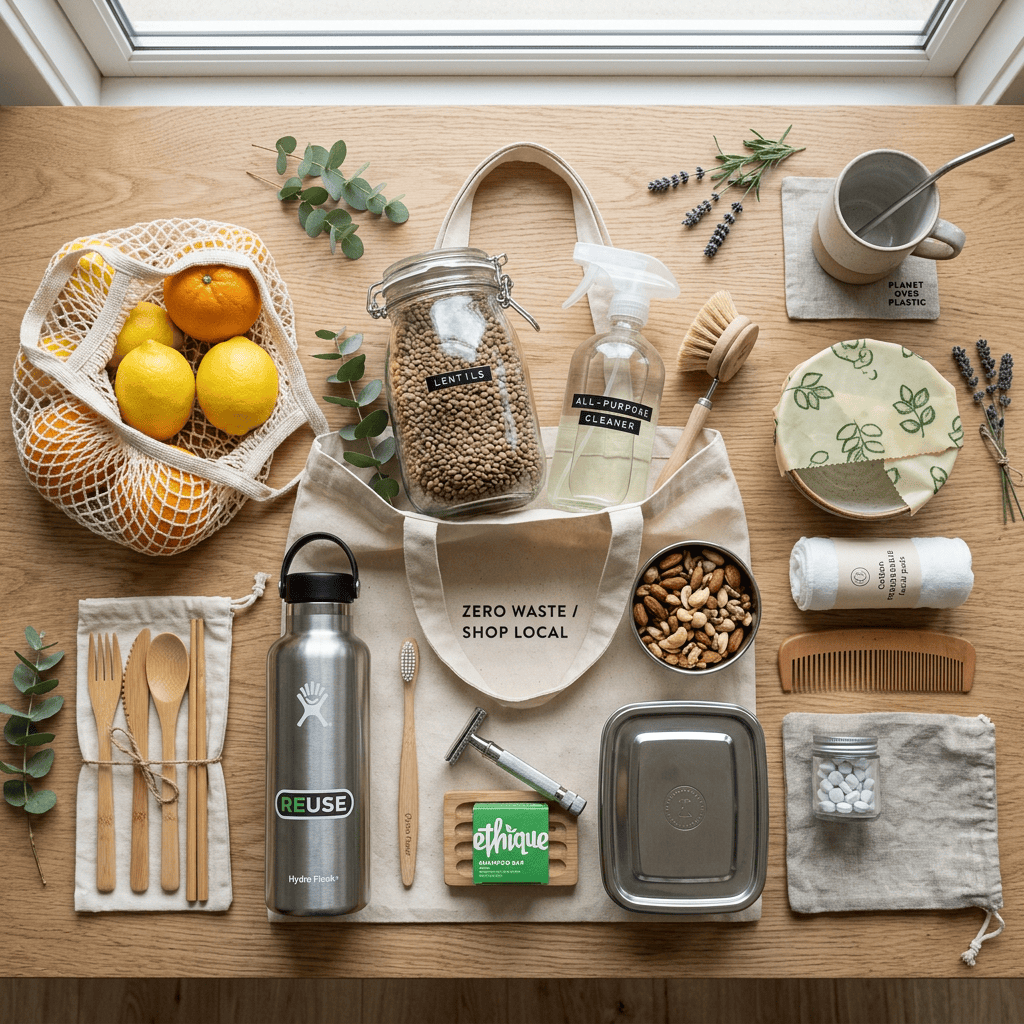
Zero waste items including reusable bag, stainless steel water bottle, wooden utensils, glass jar with lentils, natural cleaning spray, bamboo toothbrush, metal food container, shampoo bar, comb, and cotton rounds.

There’s a lot of noise around “zero waste” living that can feel overwhelming — bamboo everything, expensive swaps, an all-or-nothing pressure. What’s actually worked for me is much simpler: a handful of everyday products that quietly replaced their plastic-heavy counterparts, without needing a lifestyle overhaul.

1. Steel water bottle
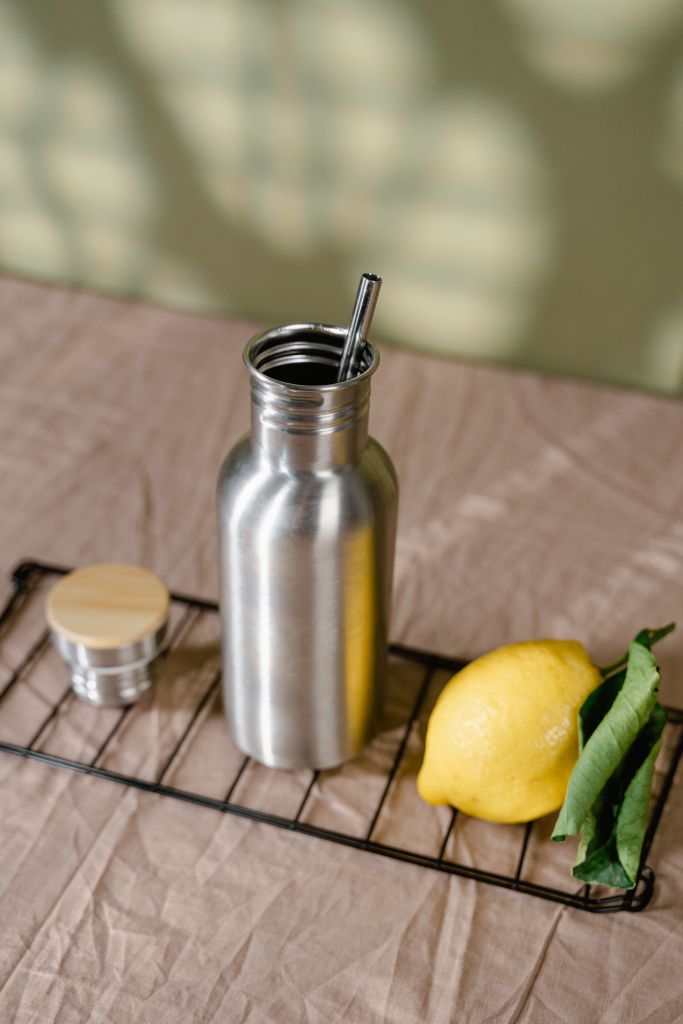
The one swap that’s stuck the longest. No more buying plastic bottles when out, and it keeps water cool for hours.

2. Cloth pouches for groceries
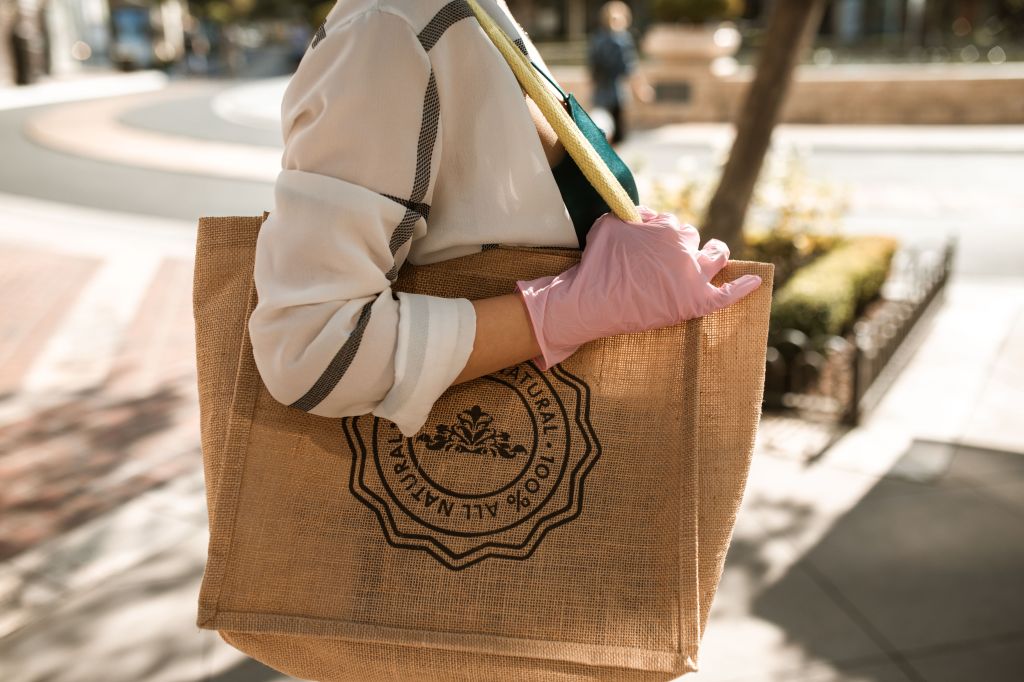
Instead of taking a plastic bag for every small grocery run, a couple of cloth pouches folded into my bag handle most day-to-day shopping.

3. Bar shampoo
Skeptical at first, but a good bar shampoo lasts far longer than a bottle and skips the plastic packaging entirely. Bathroom shelf looks less cluttered too.

4. Reusable makeup remover pads
Replaced cotton pads completely — wash, reuse, repeat. Small change, but it adds up over months.

5. Steel lunch box
Swapped plastic containers for a steel one — keeps food fresher, and there’s no worry about plastic leaching into hot food.

None of these needed a “big” commitment — I added them one at a time, whenever the old version ran out or wore out. That’s usually the easiest way for a swap to actually stick, instead of trying to overhaul everything at once.

5 Simple Swaps to Reduce Plastic at Home

Plastic is everywhere in our daily lives — often without us even noticing. The good news is that reducing it doesn’t mean overhauling your entire home overnight. Small, consistent swaps add up over time. Here are five easy ones to start with:

1. Cloth bags instead of plastic bags
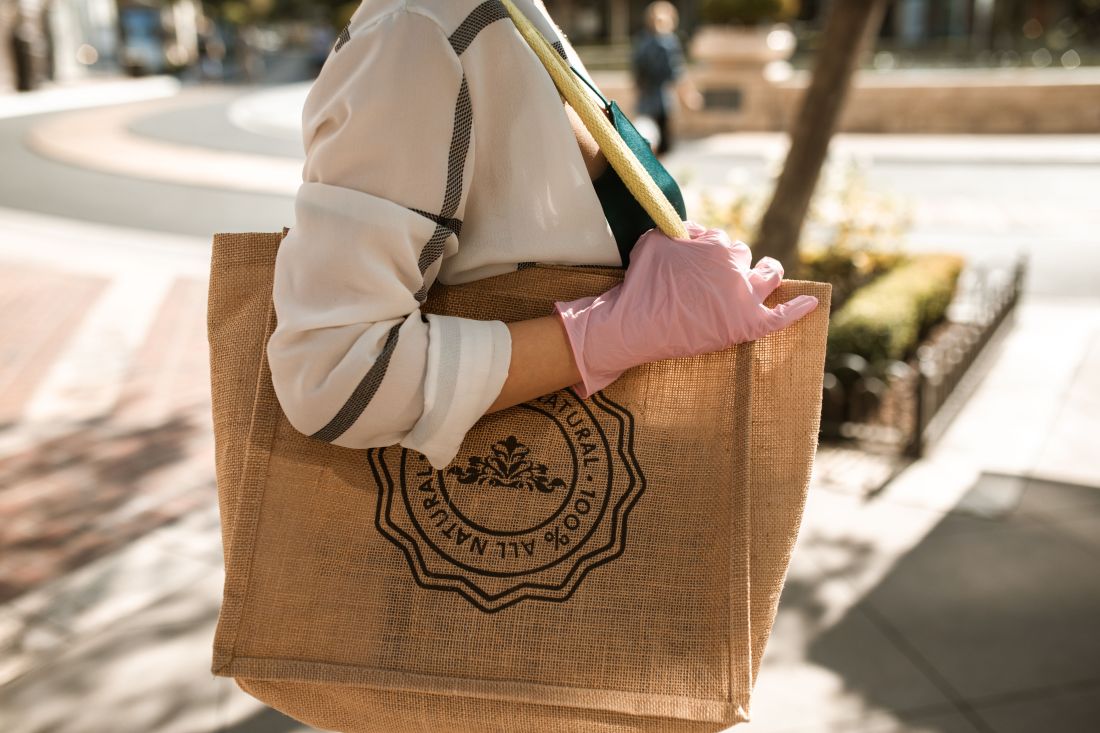
Keep a couple of cloth or jute bags near your front door or in your car. It sounds simple, but having them within reach is the difference between remembering and forgetting when you’re out shopping.

2. Steel or glass bottles instead of plastic ones
A good steel bottle lasts years and keeps water cooler for longer too. It pays for itself quickly compared to buying plastic bottles repeatedly.

3. Reusable containers instead of cling wrap
Steel or glass containers for storing leftovers not only cut down on plastic waste but also keep food fresher for longer.

4. Bar soap and shampoo bars instead of bottled versions
Bathroom plastic adds up fast — shampoo, conditioner, body wash bottles. Bar alternatives have gotten much better in quality recently and cut out a surprising amount of plastic.

5. Wooden or bamboo kitchen tools instead of plastic ones
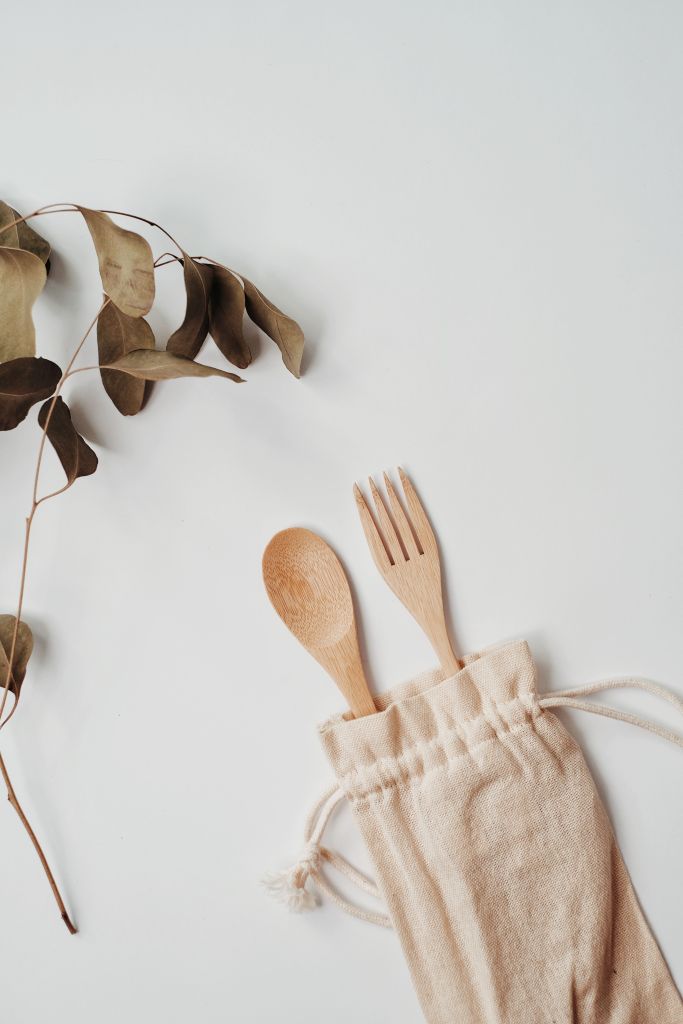
Spatulas, spoons, chopping boards — small kitchen swaps that last long and don’t shed microplastics into your food over time.

None of these need to happen all at once. Pick one this week, get used to it, then move to the next. That’s usually how lasting habits actually stick.